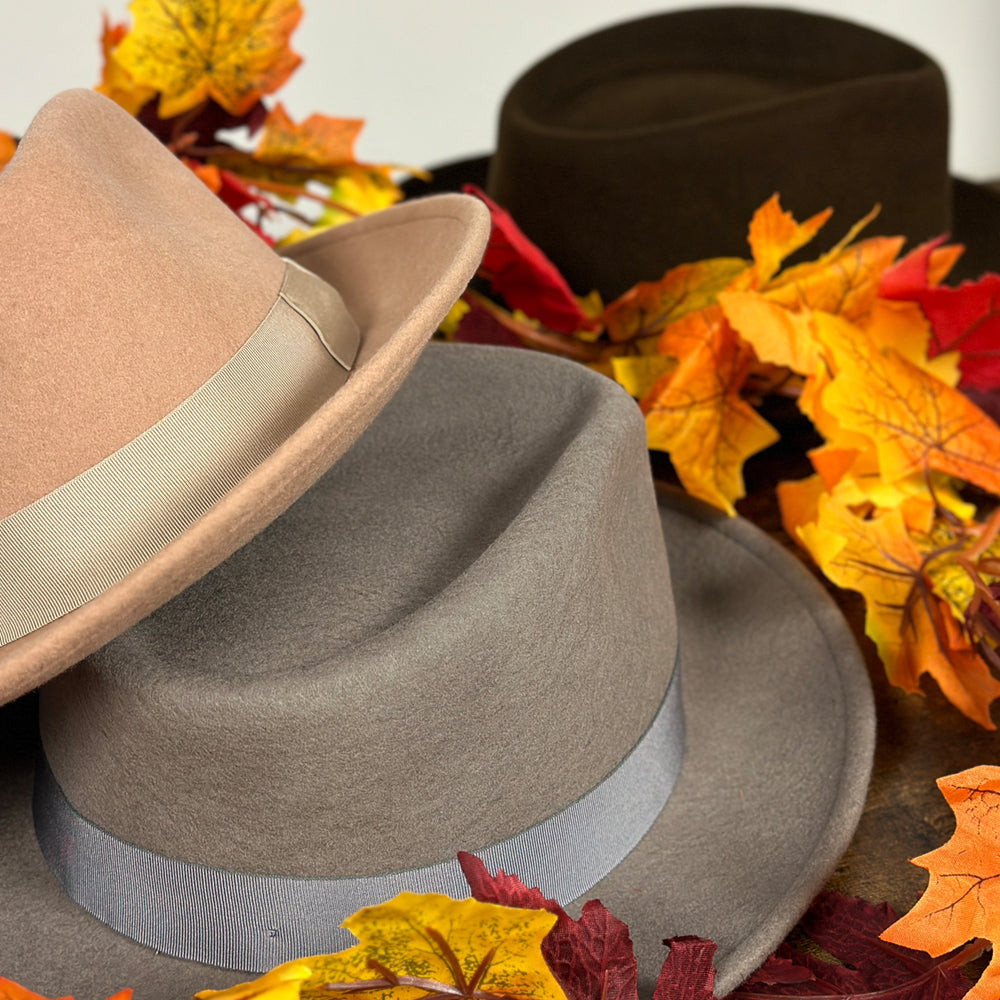
From travels to storage off season, to adventures anew, you begin to notice your hat is picking up creases and dents, wrinkles and folds where maybe there hadn't been any before, but don't fret!
Getting a felt hat back to its old appearance isn't impossible, and may just require a bit of steam and waiting! Here's a quick guide to reclaiming the shape of your hat.
First, what is felt?
Felt is a material created through the felting process where fibers and hairs are put through a layers and compression to create the matted material, and it may be sourced from fur like rabbit or beaver, or even wool. Used for a mix of dress, casual and travel hats, felt is a reliable and forgiving material to create hats with.
When the felted material is blocked into hats, it goes through a lot of pressure and steaming processes to take on the intended shapes of the hats. Thankfully, this gives the material a sort of memory, giving you an edge up on recovering it.
That said, based on the number and depth of wrinkles and folds, your options for reshaping a felt hat include:
Sans Moisture Recovery
Especially if the hatband is made of suede or another delicate, water-sensitive material, you may be hesitant to steam or use moisture to reshape the felt.
In this case, if the wrinkles primarily affect the crown, you can:
- From the inside, push out any dents and wrinkles, using your hand or a hat brush.
- Use cloth or a towel to stuff the entire crown area, or place it on a wig stand, if it's available.
- Leave the hat in this position for multiple days.
- After some time, remove the filling from the crown and see if the hat retains this shape. Going forward, be sure to store your hat in this manner or inside a hat box crown down, and supported with a nest of tissue paper, or even your favorite scarves for the season.
Steam Recovery
Unfortunately, the above method only really works when the wrinkles are minimal. As with all textiles, felt will need to be steamed to regain its shape, particularly if it was recently crushed.
To get started:
- Have either a steamer or tea kettle on hand. Because the emitted steam will be hot, be sure to keep your hands and face a minimum of six inches from the spout. Trust us on this, steam burns hurt!
- Once the kettle or steamer starts producing steam, hold the hat beyond this distance within the direction of the steam. Make sure the hat's inside is directly facing you. Otherwise, any interior sweatband will dampen and warp the shape.
- As the steam hits the felt, the fibers will start to loosen, becoming more pliable and letting you reshape the material. Once the hat feels nice and toasty, move it out of the steam flow and pull, bend, pinch or lightly stretch the felt to get rid of the wrinkles.
- Work through the hat until all wrinkled or folded areas have an even appearance. Generally, it's recommended that you start with the brim and work upward. For cowboy hats, now's your chance to re-curve the brim. With the crown, always reshape from the inside, pushing outward.
- Once you're done, let the material cool before placing it on your head to fit its shape. Keep it in place for a few minutes, so the crown can conform to your head's curves.
And that's honestly it! Prior prevention like making sure you store your hats correctly will always help you avoid any developing or dire issues, but for times that didn't happen, rest assured a little steam, some fancy hand work and a little TLC go a long way into reshaping your hat back to where it used to be.
Popular Product: Magic Hat Cleaning Sponges - Felt Hat Care


